
Your First Banner
Thanks for installing Headband, the all-in-one banner app for Shopify, in your online store. Let’s get started by creating your first banner.
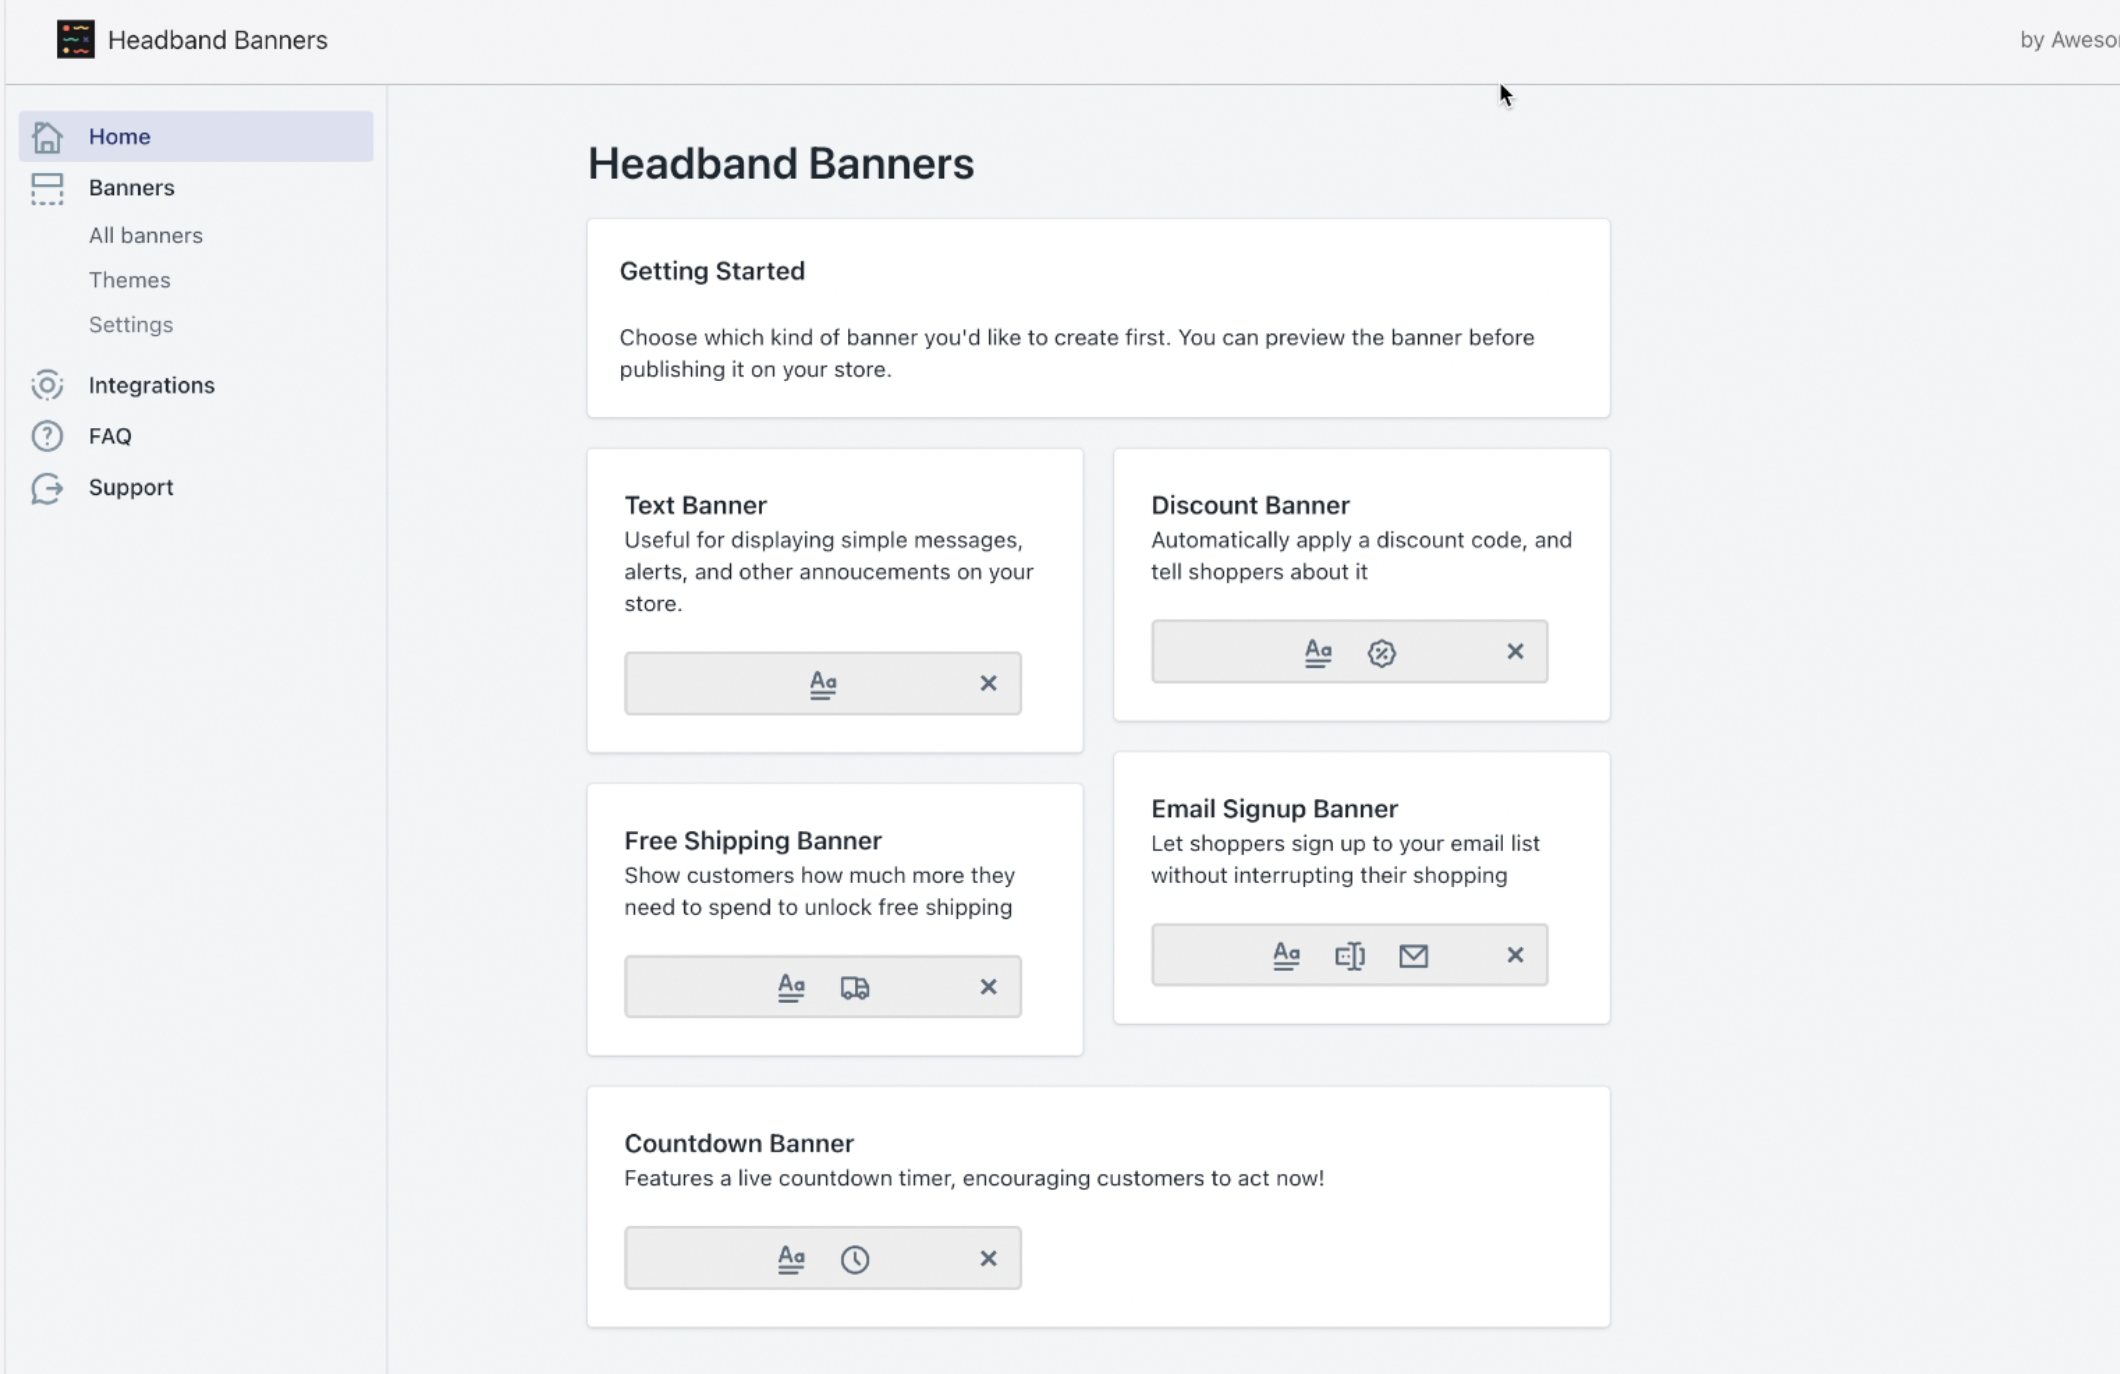
When you open Headband for the first time, you’ll see a list of the different types of banners you can create. All of the banners are completely customizable
-
Text Banner: Use a Text Banner to show a welcome message, link to a specific product or page in your store, or display an important notice. The Text Banner isn’t restricted to only text; it can include any type of HTML you like including emoji, formatting, and images.
-
Discount Banner: Use a Discount Banner to notify shoppers about a discount they are receiving. The Discount Banner automatically applies the discount code to the shopper’s current order - there’s no need for the shopper to copy and paste it at checkout. The discount can also be automatically applied to subscriptions that use the ReCharge checkout.
-
Free Shipping Banner: If your store offers free shipping above a certain order size, this banner can show your shopper’s progress toward free shipping. The Free Shipping Bar keeps track of the order size, and tells the shopper how much they need to add to the cart to receive free shipping.
-
Email Signup Banner: Includes a box for shoppers to enter their email address, and saves the email to your customer list. Edit the message and the signup button to say whatever you like, in any language.
-
Countdown Banner: Next to your fully customizable message, shows a real-time animated countdown to a date that you set.
For our first banner, we’ll be creating a Text Banner. Click on Text Banner.
Title Section
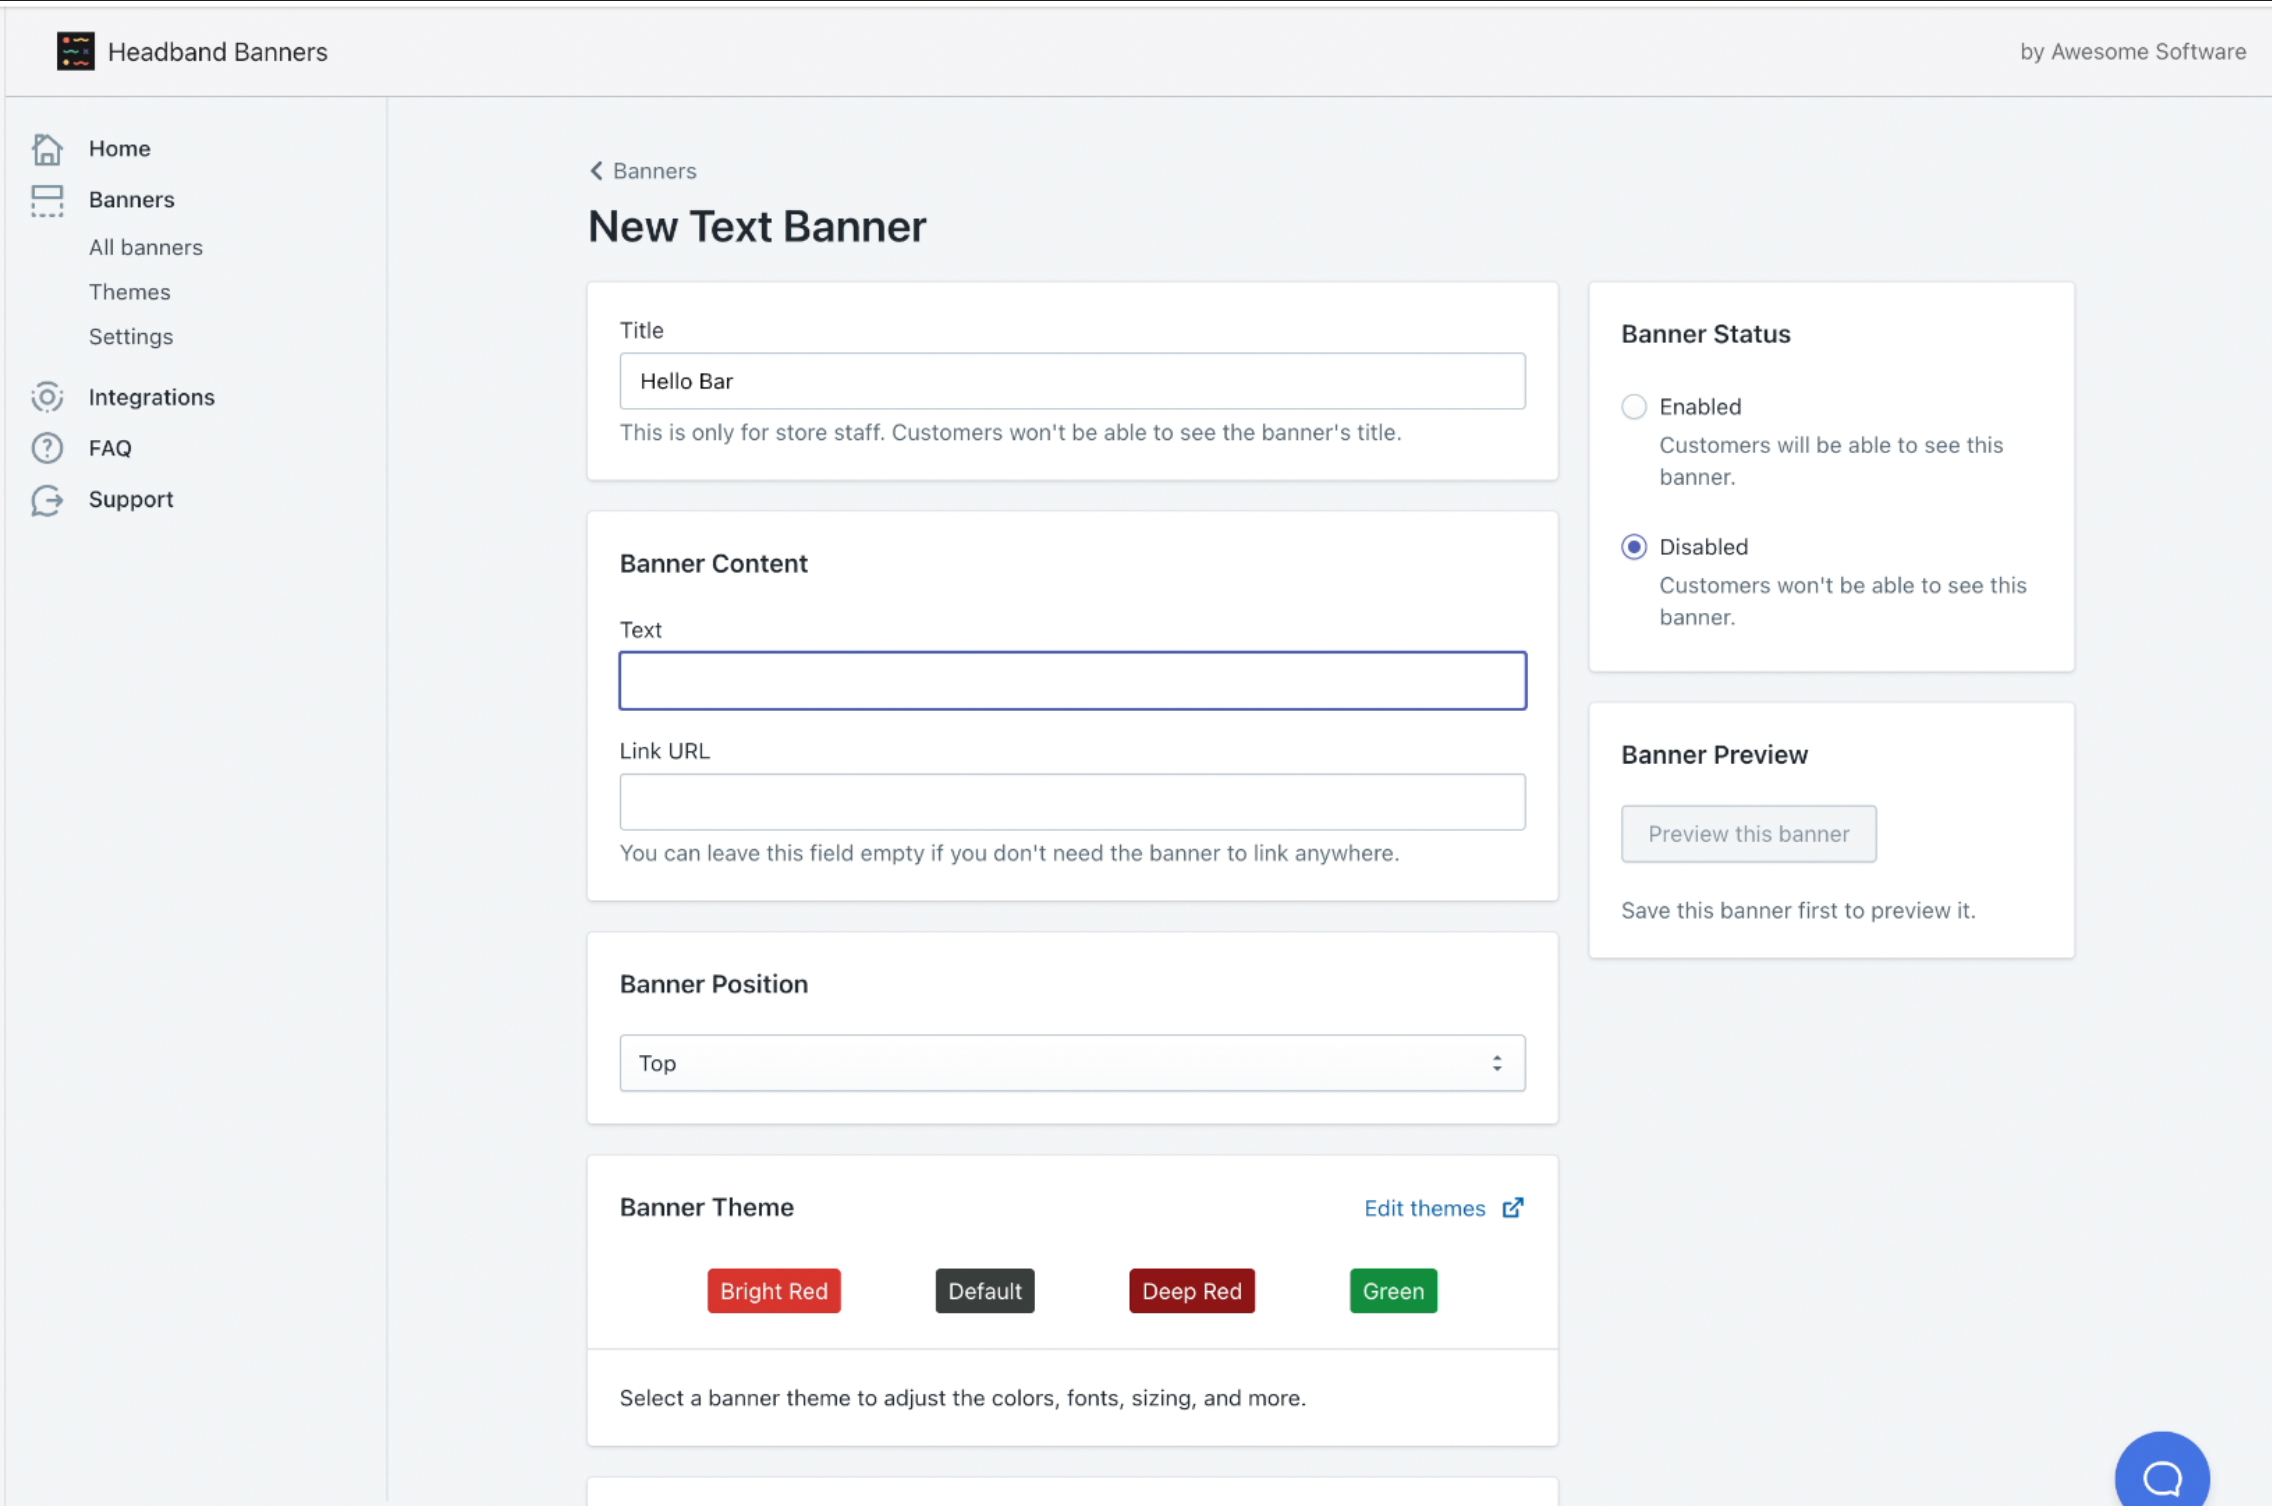
At the top of the page, you can give your banner a Title. This is for your own internal use, and is never shown to your shoppers. I’m calling ours “Hello Bar.”
Banner Content Section
Next is the Banner Content section. Each banner type has a specific type of content. Countdown banners have a timer, email banners have an email field, discount banners have a discount code, etc. For Text Banners, the content is simple: just Text and an optional Link.
In the field labeled Text, write whatever you’d like your banner to say. For this example, I’m writing “👋 Hello there! Check out our <strong>sale</strong> items!” As you can see, it’s possible to include emoji and HTML formatting in this field. If you don’t know how to format your message in this way, don’t worry! Just send us a message using the support widget and we’ll take care of it for you.
In the field labeled Link URL, you can enter the URL of a page shoppers will go to when they click on the banner. Leave this blank if you’d like the banner not to be clickable. You can link to any web page here, including pages that aren’t part of your store.
Common Banner Settings
All banner types have settings for Appearance, Display Rules, and Status. See common banner settings for details